In the last box, I unboxed new fabric. To my surprise, after washing and drying all the fabrics, a lot of the slipperiness was gone!
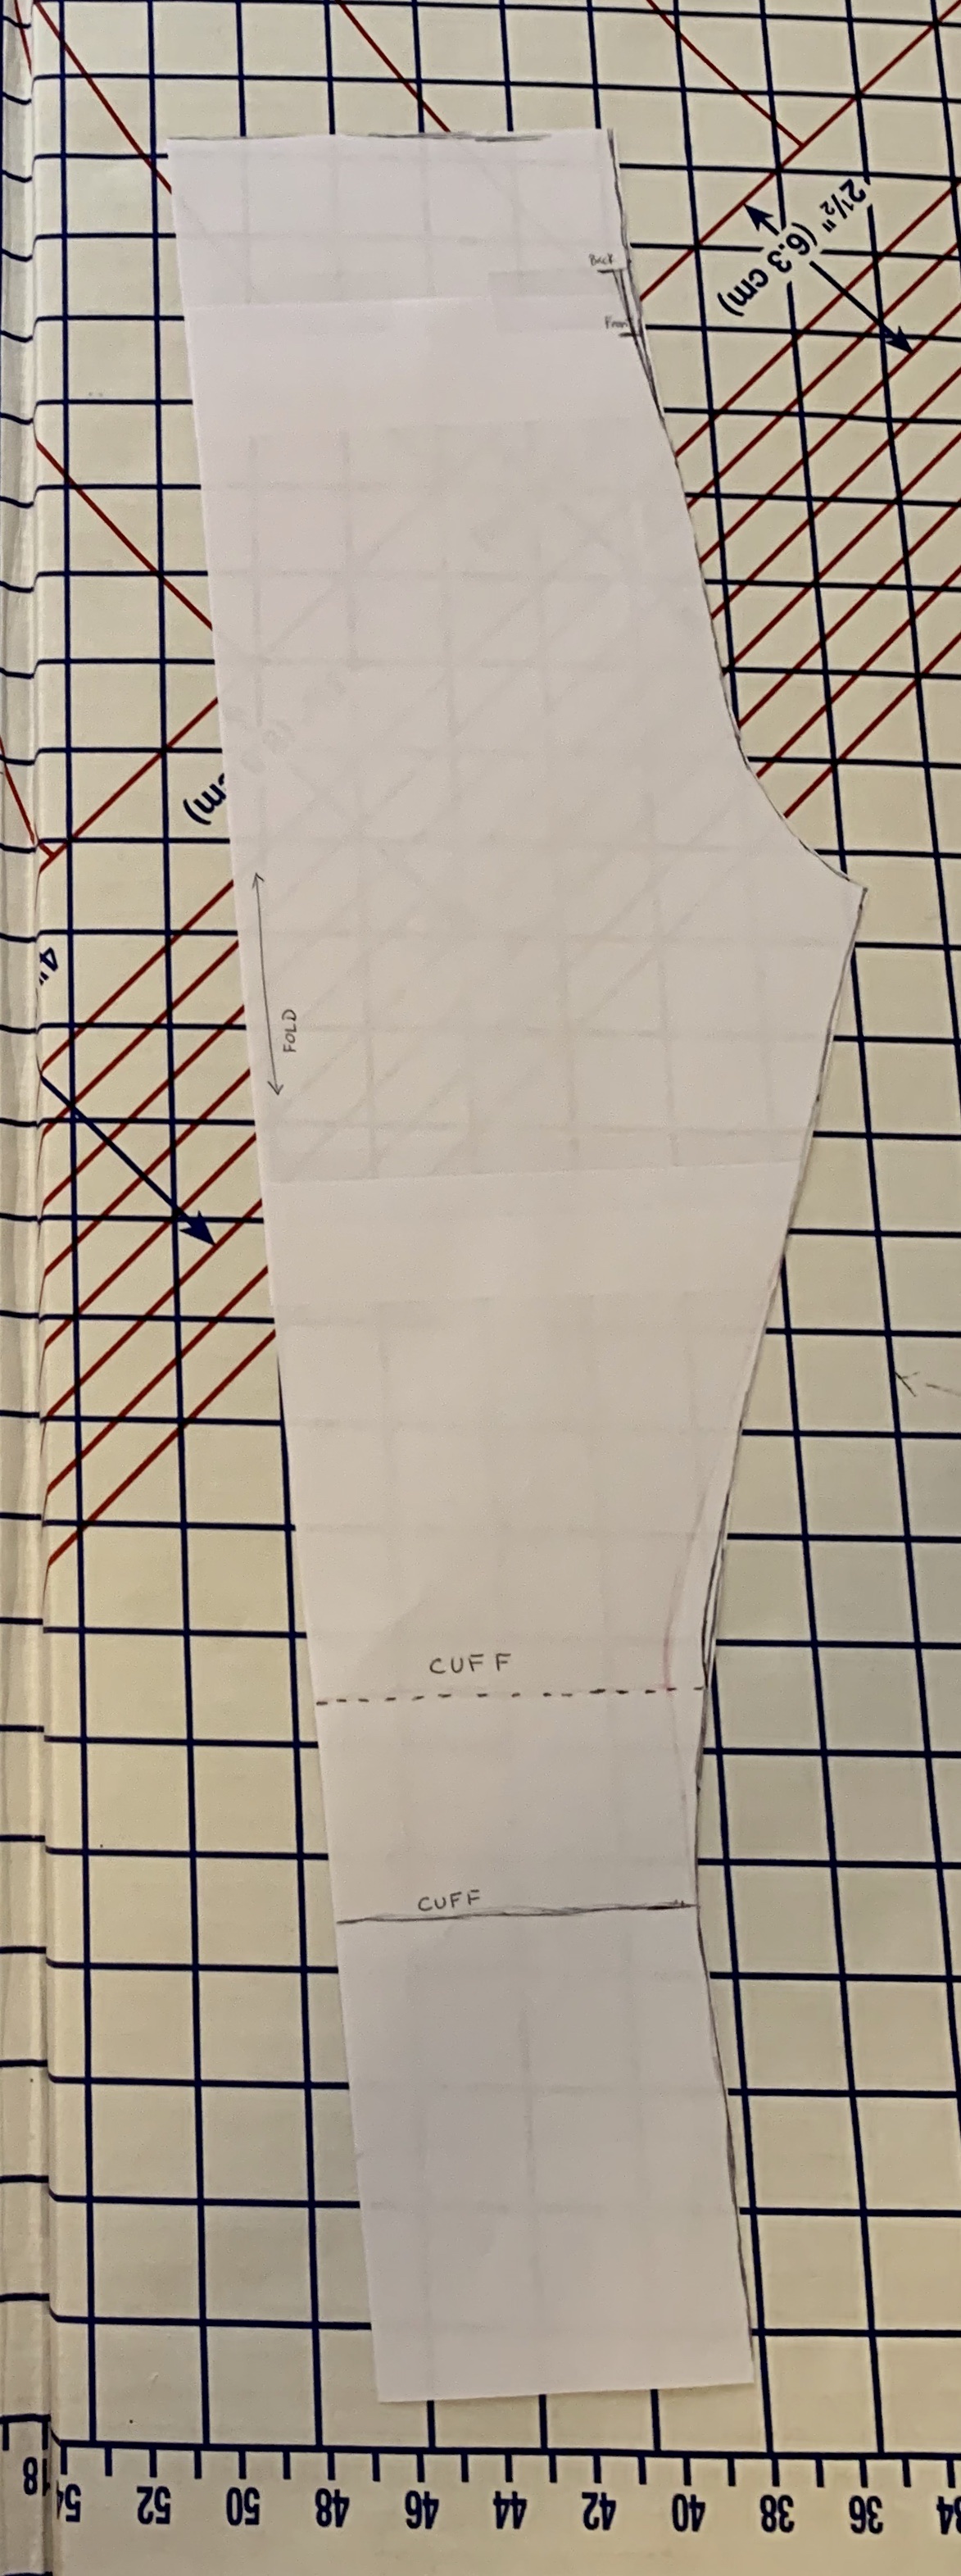
This blog post DIY Baby Legging Tutorial was amazingly easy to follow with step by step instructions and photos. I found a pair of red pants with the correct size waistband to use as my template.
I traced the red pants and then thought about adjusting; these pants are too long and too narrow. The blog post adds a 1.25″ cuff to the original pattern too. (I actually can’t figure out why.) The dotted line is where I ended up cutting the legs. I had to re-cut cuffs to match that width.

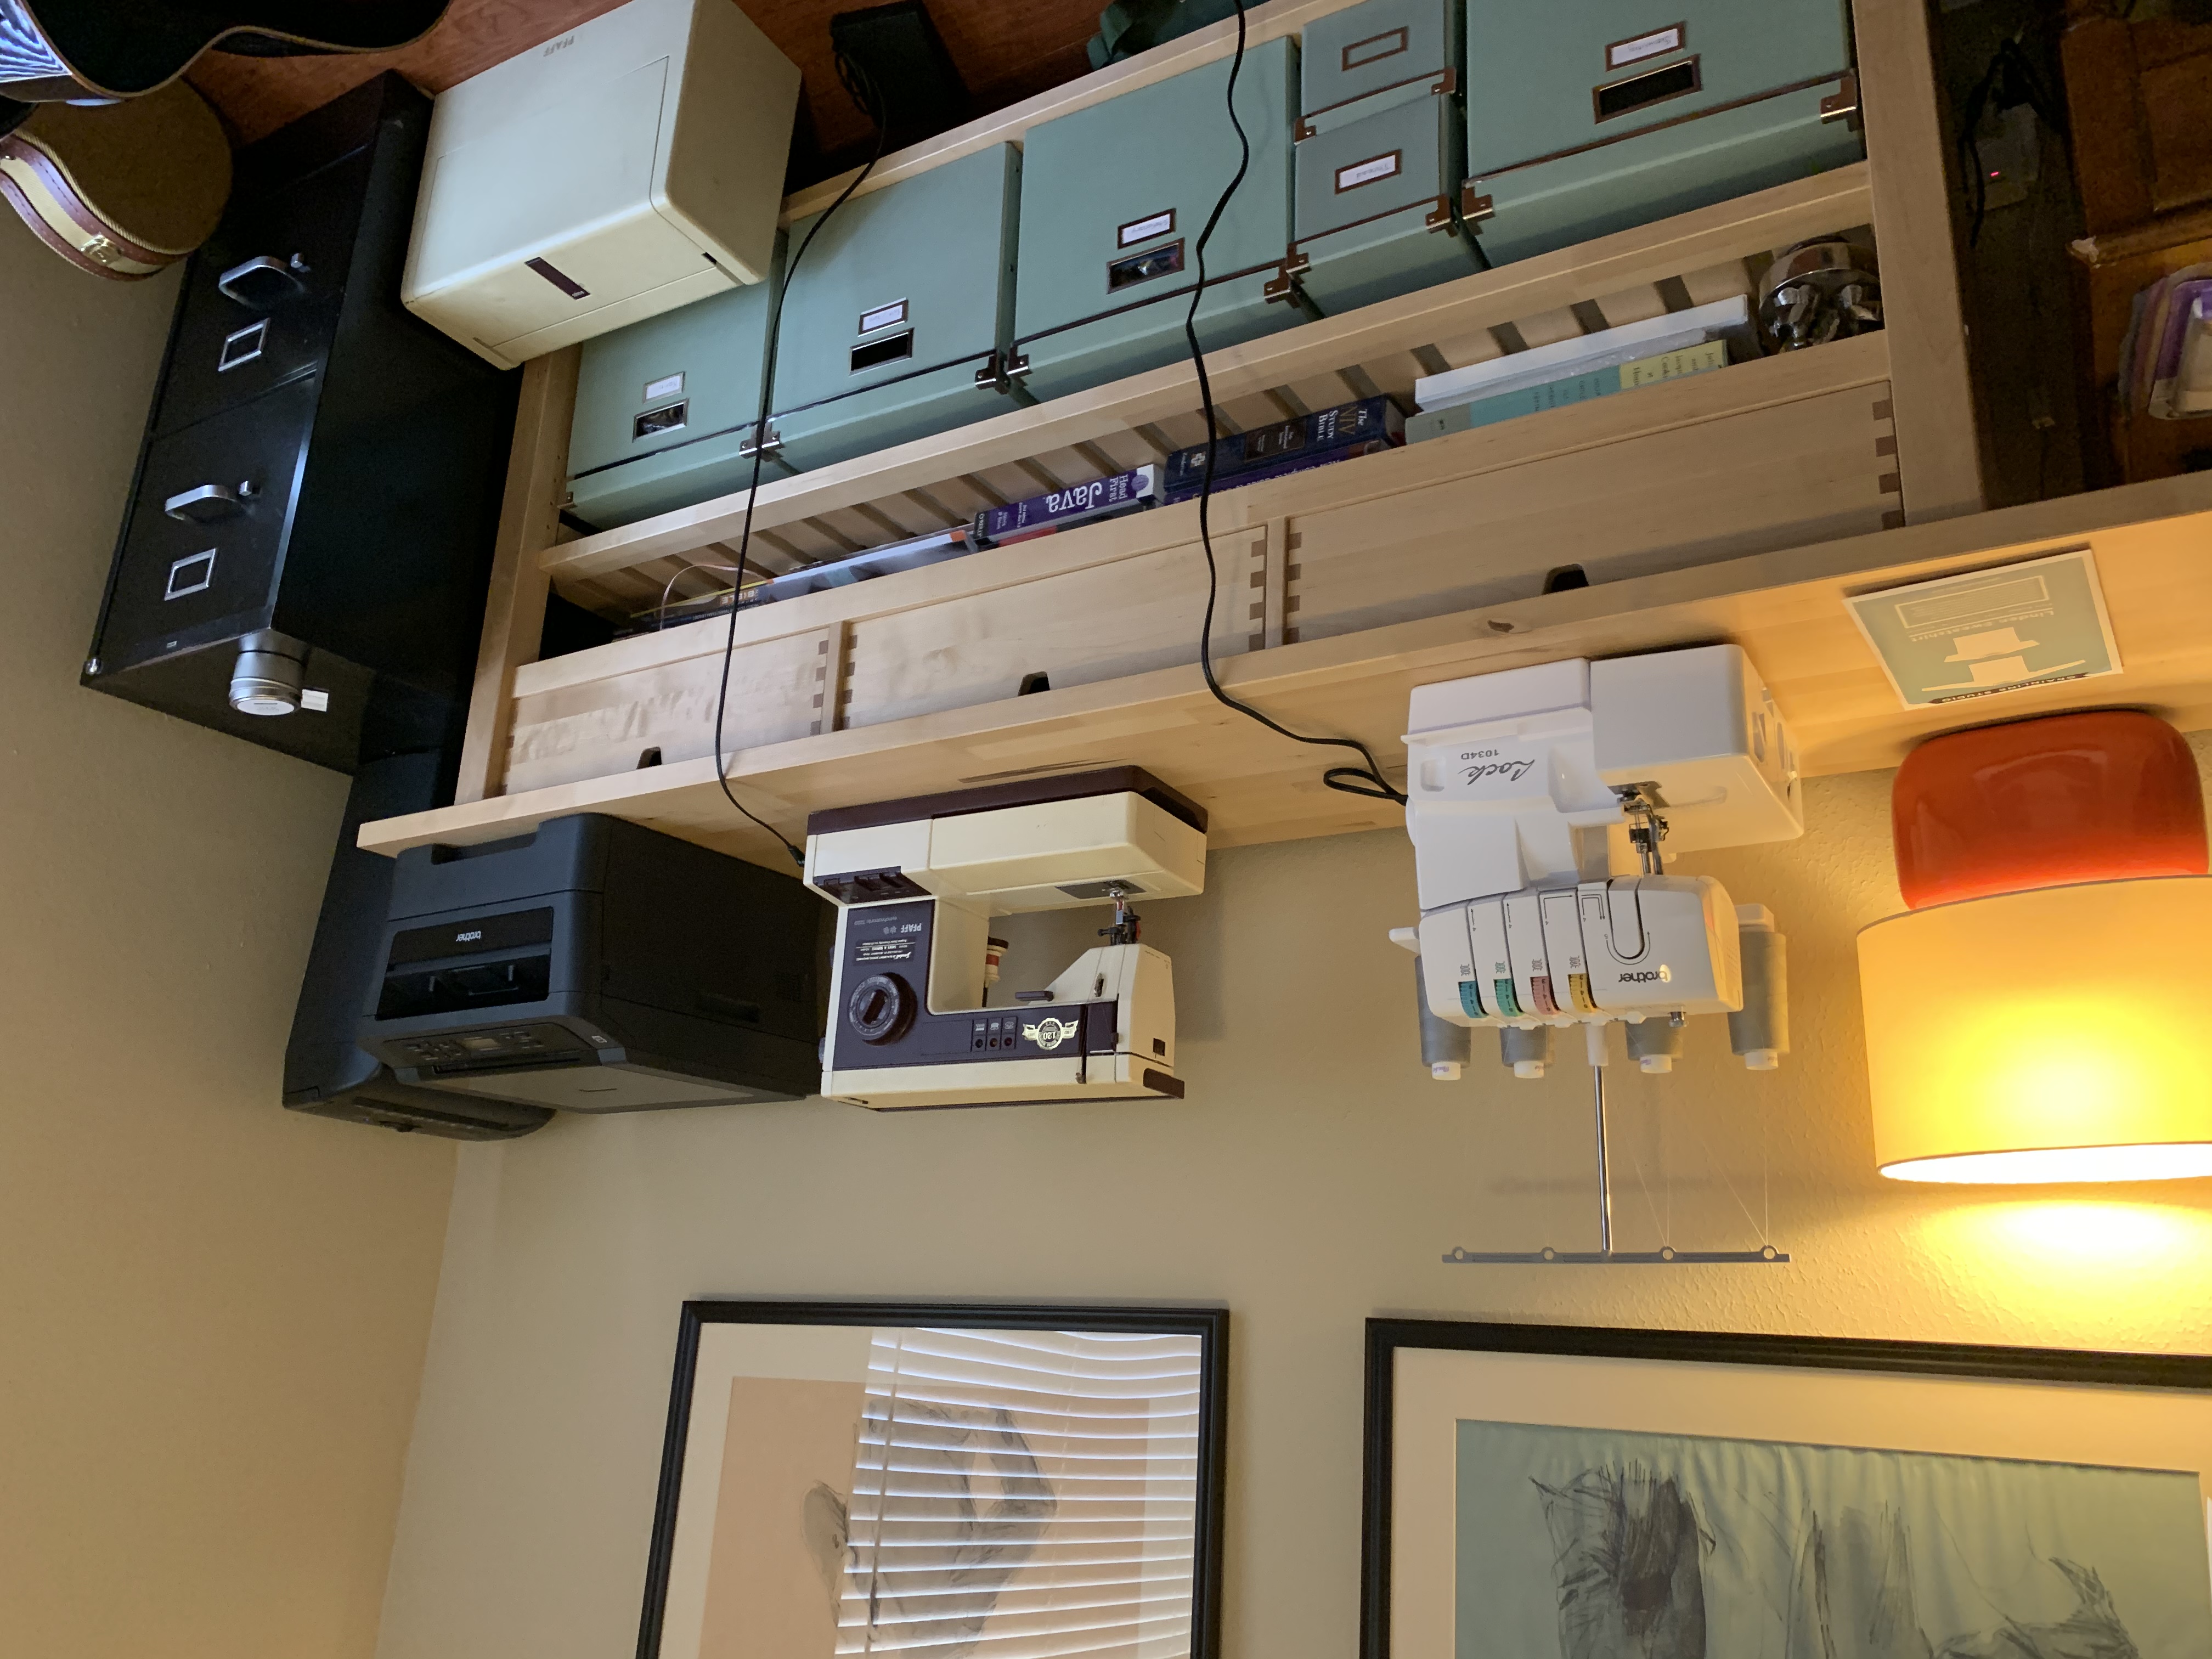
Using the serger for these was amazing. Zip, zip, zip! Seams and cuffs done. It made doing the cuffs twice less painful since that was so fast. Then I had to pull out my sewing machine for the elastic.
Check out this amazing sewing set up now!

Light, serger, sewing machine, printer, shredder, file cabinet, guitars…. all the things you need in an office, sewing room, guest bedroom, music room combination. I may be swapping some of these boxes and books for my storage in what was the craft room and is now the nursery closet. It takes some planning to pull out every thing I need before naps and bedtime.
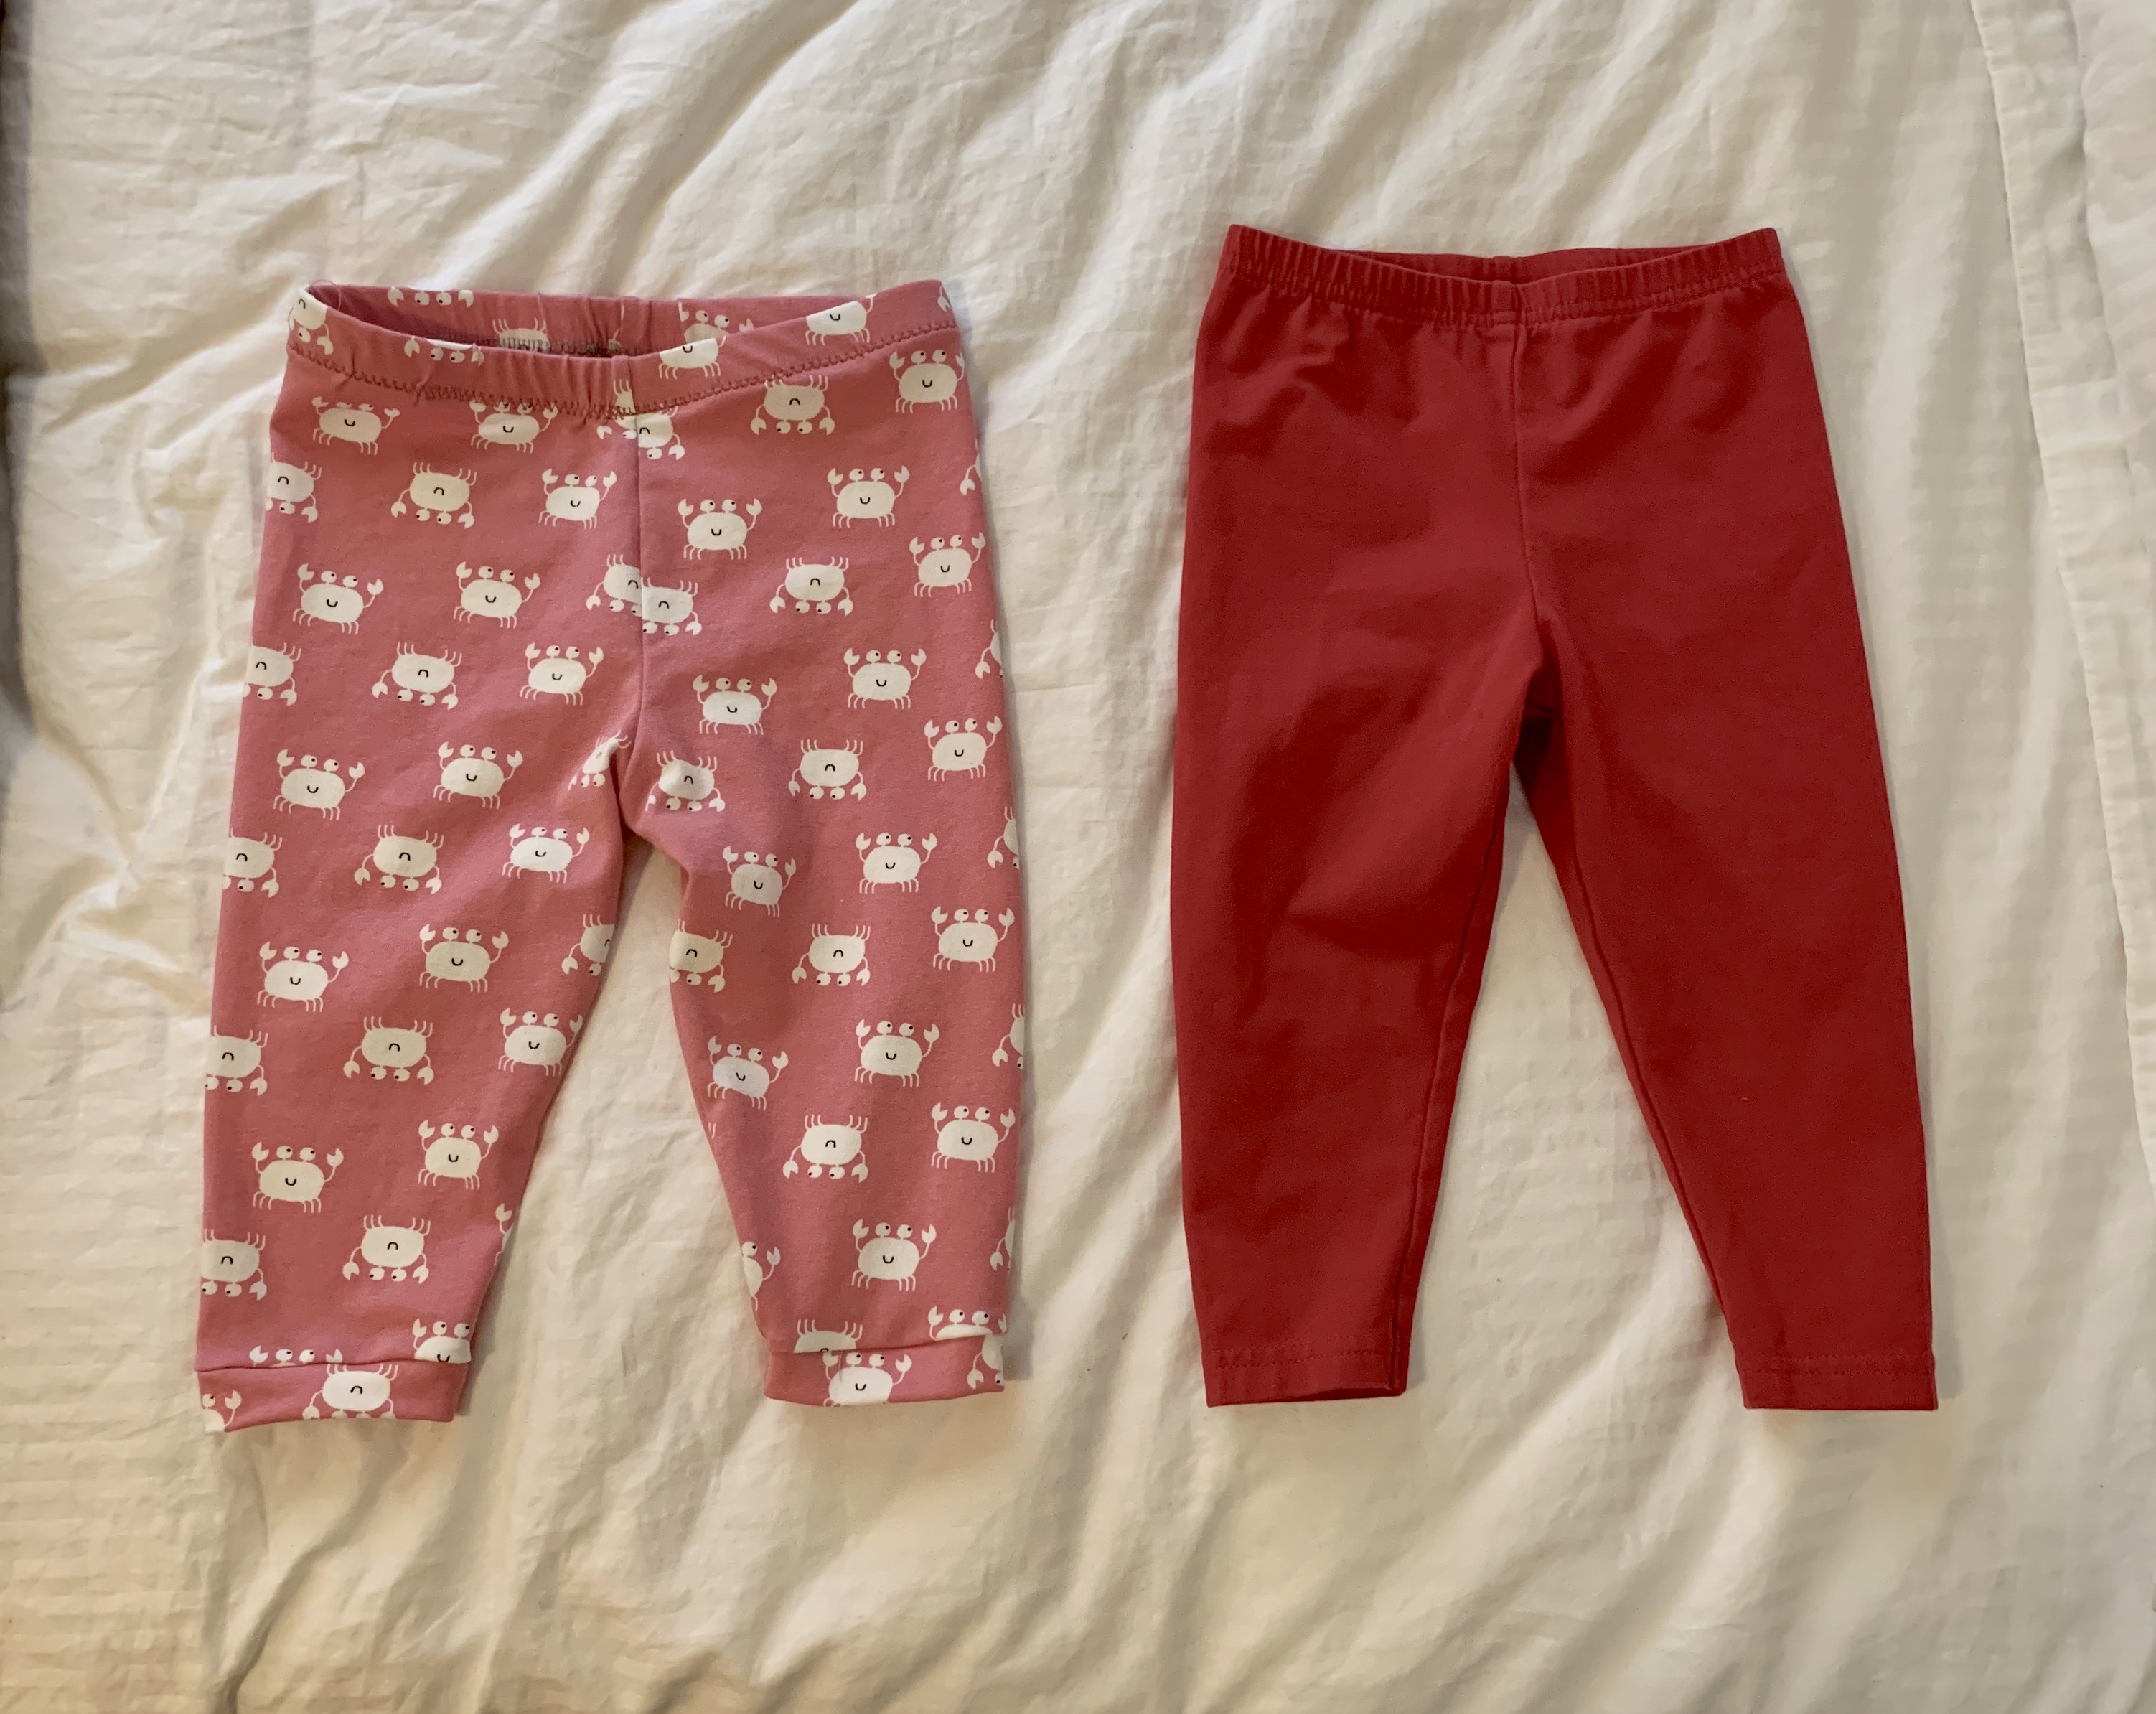
I’m really happy with the end result! I think the fit will be perfect. And there’s enough fabric to make a larger pair in a few months. Check out the difference between this red pair of pants from Carter’s and the fun new crabby pants!

Lessons learned:
- Buy elastic in a long spool. Turns out a yard is only one pair of pants and a tiny scrap.
- Figure out the double needle set up on my sewing machine. I used a fun zigzag to allow for stretching, that turned out amazing. But the double needle will look store bought!